If you’ve been following the blog over the last few months, then I’m sure you noticed that the boys (and admittedly, me as well) have become quite the fans of Pokémon. So much so that G made a late decision to change his birthday party theme from Minecraft to Pokémon! I didn’t mind either way, honestly, as both themes would be fun to work with.
At the party, the kids did a fun Poke Ball craft. I will share all the details from the party on the blog later this week, but today I am going to show you how to make this easy craft yourself. This would be fun as a party activity, or as an at-home craft any day of the week.
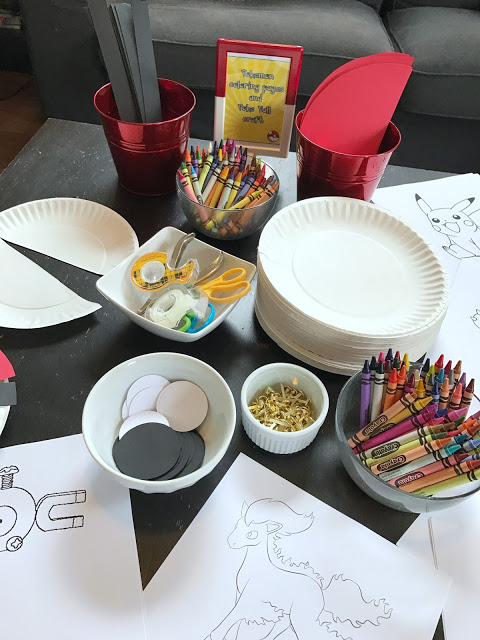
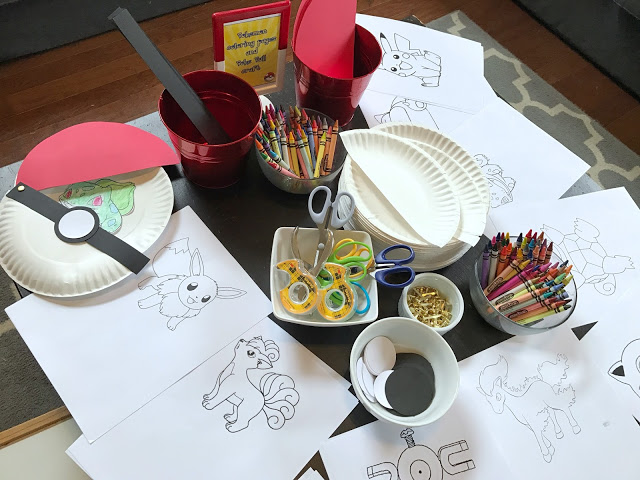
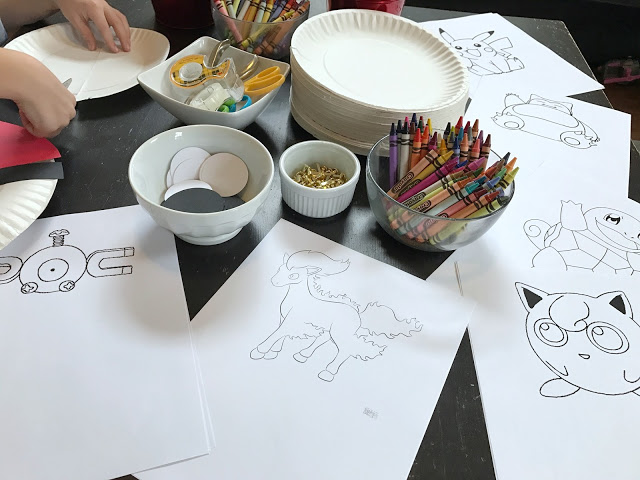
What you need:
- Pokémon coloring pages (you can do a Google Images search and find coloring pages to print for almost any of your favorite Pokémon)
- Crayons
- White paper plates (you need two plates for each Poke Ball you want to make)
- Red construction paper or cardstock
- Black construction paper or cardstock
- White paper or cardstock
- Double-sided tape or a tape runner
- Hole punch
- Scissors
- Fastening brads
Instructions:
Note: If you are doing this as a party activity, you may want to pre-cut some of the parts in advance like I did so that the kids can assemble a little more easily with less adult assistance.
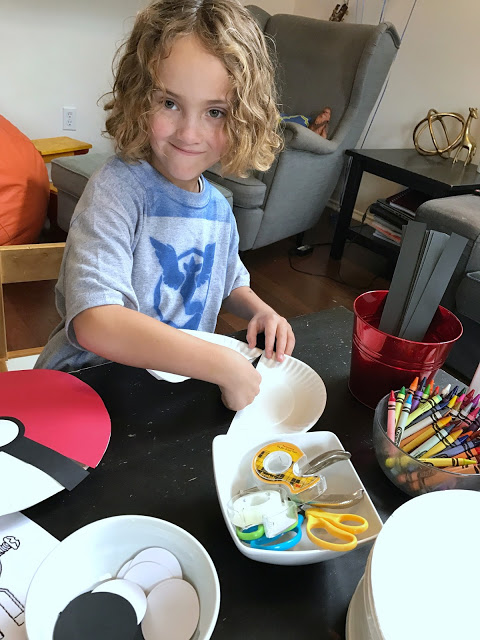
- The first step is for the child to color their Pokémon coloring page.
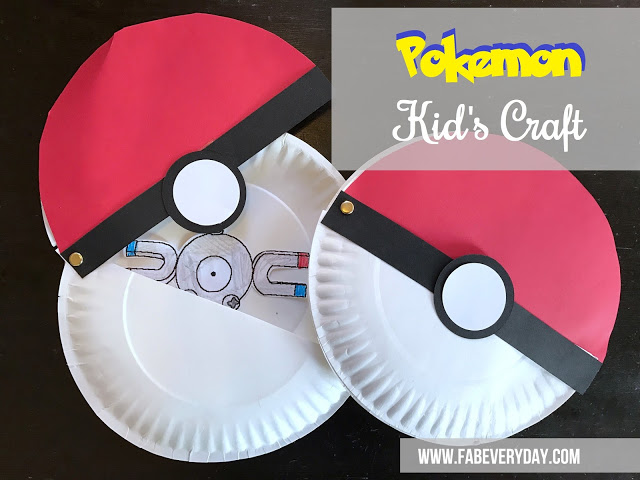
- When finished coloring, cut the Pokémon out, and tape it onto the middle of one of the paper plates.
- Cut the second paper plate in half.
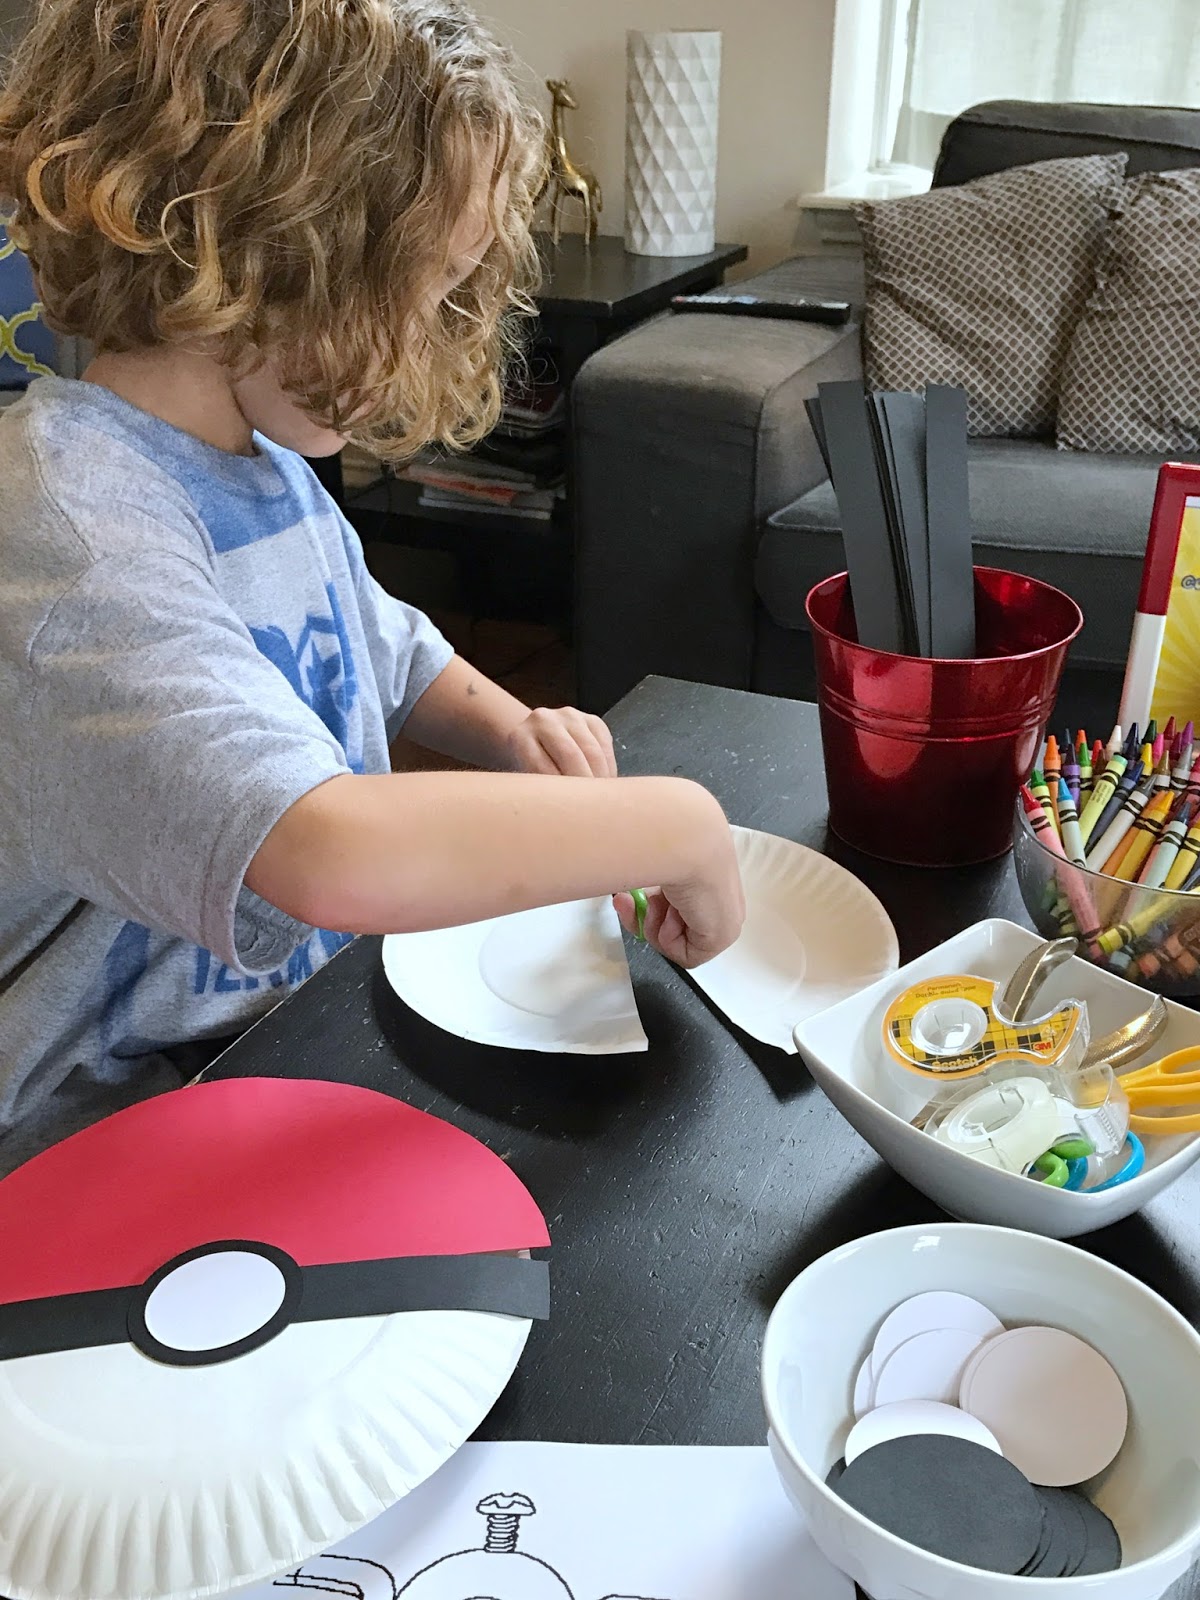
- Line the red paper up with one of the cut plate halves, and using the plate as a sizing guide, cut a semi-circle out of the red paper that is the size of the plate half, then tape it to the back of the plate half.
- Cut a 1″ strip of black paper that is the width of the plate diameter, then tape it on the bottom/cut edge of the red semi-circle.
- Cut a black circle, and a slightly smaller white circle. Tape the white circle on top of the black circle, then tape the combined piece to the center of the black paper strip.
- Using a hole punch, punch holes in the left side of the full plate (the one with the Pokémon on it), in the left corner of the plate half with the red and black paper attached, and the left corner of the other plate half (with the back of the plate facing up).
- Use a brad to secure all pieces together. The plate half with the red and black paper attached should be the top layer, then the second plate half, with the full plate being the bottom layer.
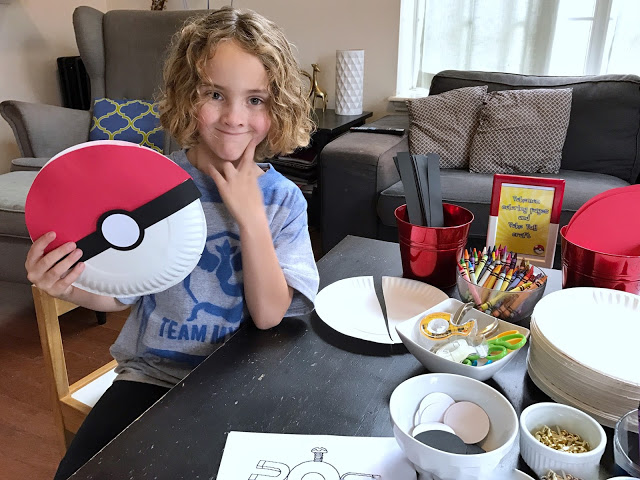
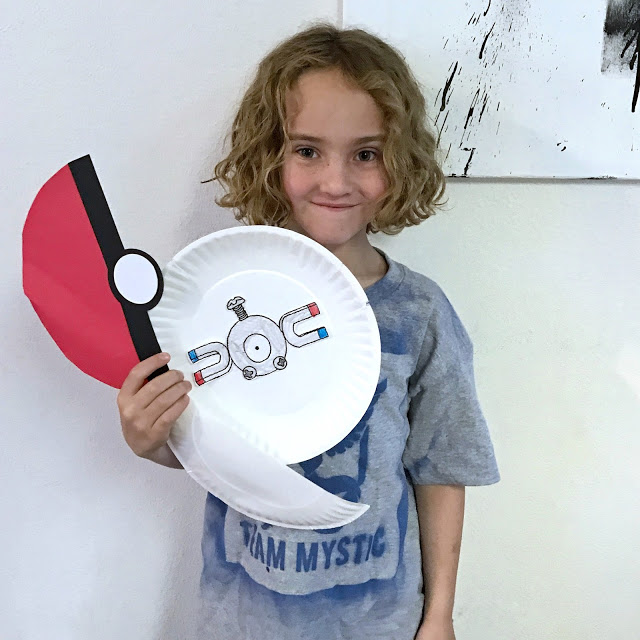
At this point, your should have a Poke Ball that opens to reveal the Pokémon the kid colored!
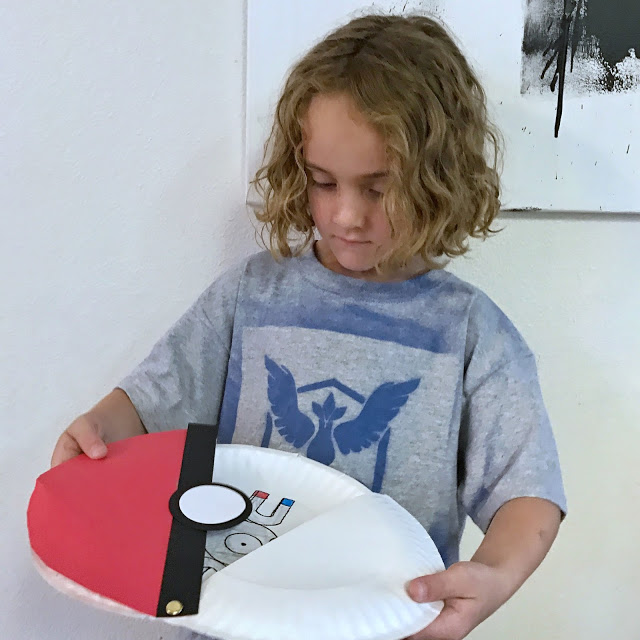
The birthday boy chose one of his favorites: a Magnemite!
Stay tuned to Fab Everyday later this week for complete details from G’s Pokémon-themed birthday party!

shopperdivaS says
How cute!!!! I'm still playing Pokémon go. This looks like such a great craft!
Hosting a blogger link up be sure to check it out!
ramonaruby says
@shopperdivaS thanks!
essay about me says
Pokemon theme party..sounds great. I love how you have utilized easily available item to make Pokemon related thing. Kids would definitely like it a lot.
Debra Moffitt says
I love this. I did make a little change and stapled the bottom half plate to the back plate forming a pouch the pokemon can sit in so the kids can take the picture out and put a new one in.
Ramona Cruz-Peters says
That’s such a fun idea!